Storage is a big deal when you have a smaller home. There can be a lot of useful space up in the attic, but if getting up there is a hassle, it is hard to take advantage of it.
For me, this project was about more than storage. I have ceiling cassette mini splits, and my only attic access was outside the house. Having a pull-down attic ladder inside makes getting upstairs to work on things a whole lot easier.
We installed a Louisville aluminum attic ladder with an R5 insulated door, adjustable legs, and a 375-pound load capacity. The installation went really well, but there were a few details worth getting right, especially the rough opening, temporary supports, ladder orientation, and final leg adjustment.
What You'll Learn
- Confirm the exact rough opening and ceiling height requirements before cutting into the ceiling.
- Match the hinged header end to the correct temporary support position.
- Keep the header tight, shim the frame, and follow the manufacturer's permanent fastening sequence.
- Seal the perimeter and adjust the legs so both feet sit flat on the floor.
Table of Contents
- Choose the Right Attic Ladder Before Cutting Anything
- Prepare the Ladder Assembly on the Ground
- Locate and Frame the Rough Opening
- Install Temporary Supports and Check the Orientation
- Shim, Align, and Secure the Frame
- Seal the Gap Around the Attic Ladder Frame
- Trim and Adjust the Legs for Full Floor Contact
- Finish the Trim and Close the Door Under Control
- A Small Upgrade That Makes the Attic Much More Useful
Choose the Right Attic Ladder Before Cutting Anything
The first thing I did was check the ladder against our ceiling height and the opening requirements. Do not size the hole from a general product description or an estimate. Use the installation instructions for the exact unit you have.
Here are the specifications for the ladder we installed:
- Construction: Aluminum ladder and frame.
- Door insulation: R5.
- Load capacity: 375 pounds.
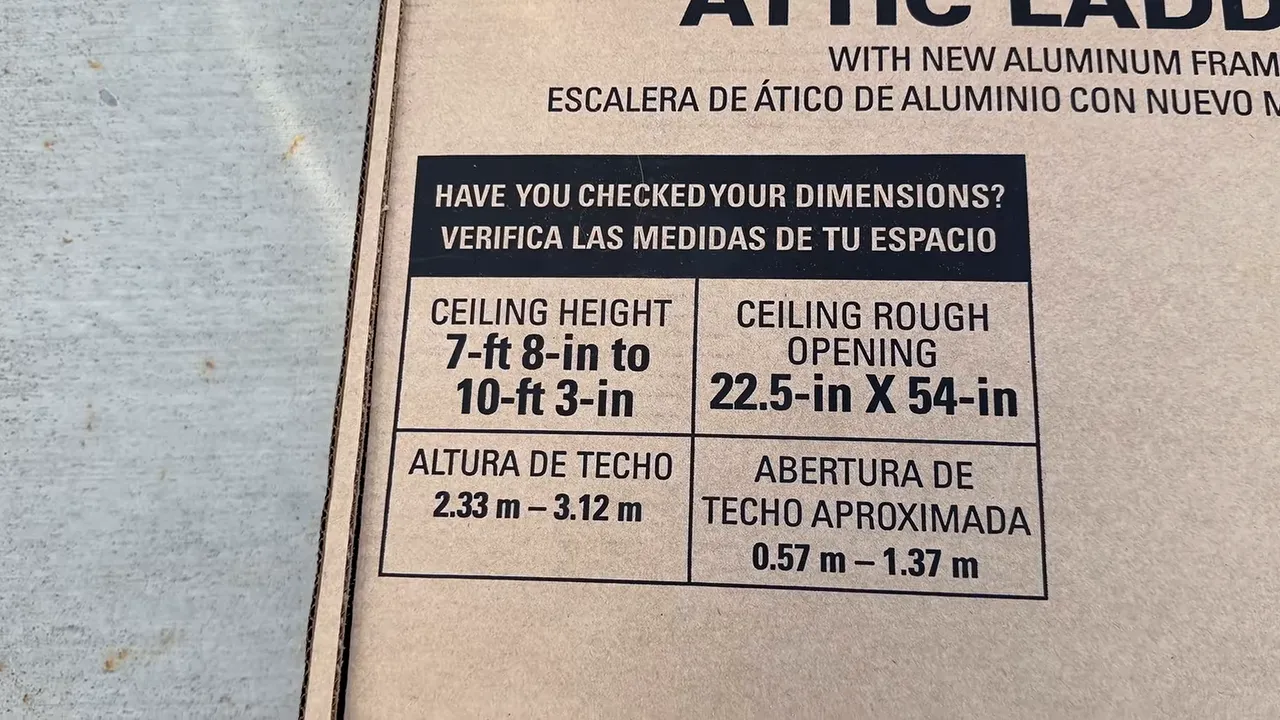
- Ceiling height range: 7 feet 8 inches to 10 feet 3 inches.
- Required rough opening: 22 1/2 inches by 54 inches.
Our ceiling measured about 7 feet 9 inches, so we were just above the minimum height. That meant we would have quite a bit of extra ladder length to remove during the final adjustment.
The lower leg extensions have a series of attachment holes. Once the ladder is installed, those extensions let you dial in the fit using the included bolts and locking nuts.
Before committing to a location, check both above and below the ceiling. You need room for the assembly in the attic and enough clear space in the room for the door and ladder to open as specified by the manufacturer.
Prepare the Ladder Assembly on the Ground
With the box open, we laid out the instructions and hardware. The ladder arrived folded and secured with a shipping tie carrying a warning not to remove it until the required installation stage. Leave that restraint in place until the instructions tell you otherwise.
There were two preparation tasks before lifting the assembly:
- Install the bushings. We inserted the supplied bushings into the frame locations called out in the guide.
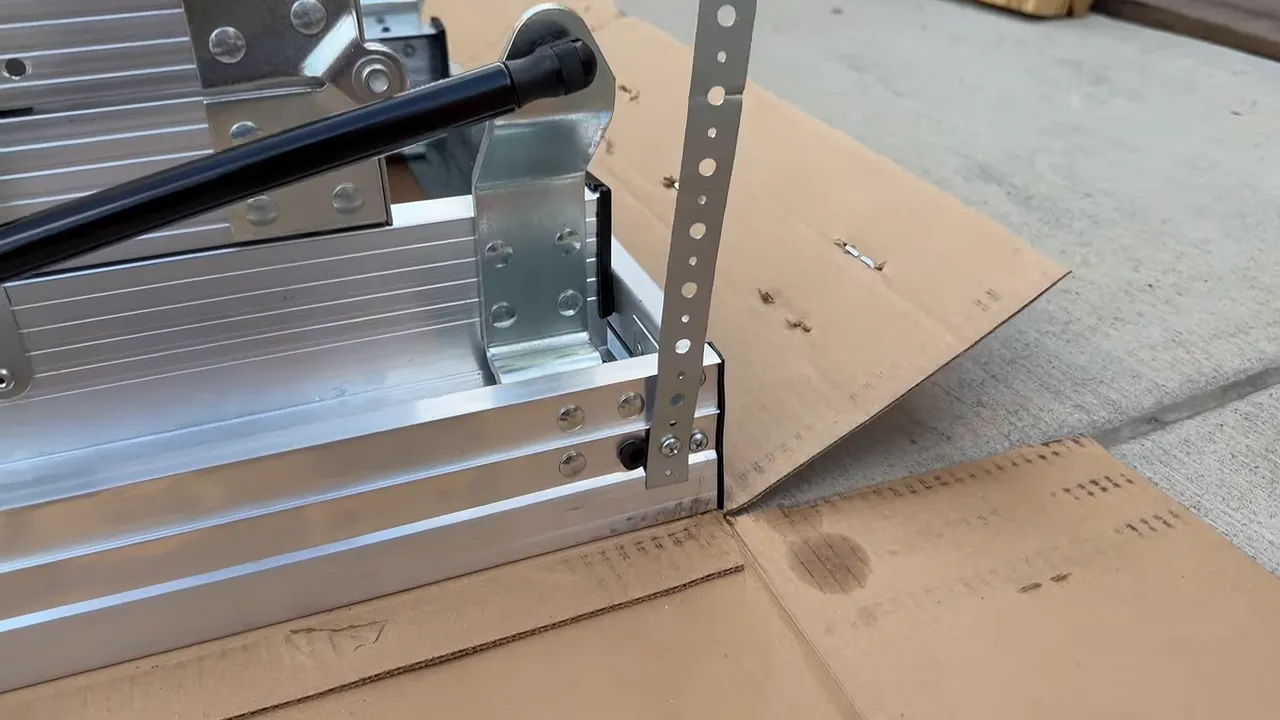
- Attach the two installation straps. These fastened into existing holes using the short bolts, then folded inward over the climbing section and out of the way.
The straps did not make much sense to me at first, but their purpose became clear later. They temporarily support one end of the frame while you lower the door and gain access to the remaining permanent mounting locations.
We also bought 2x4s for the temporary supports. Those boards hold the assembly in the ceiling opening during the initial fastening steps. They are installation aids, not a substitute for the permanent mounting hardware.
Locate and Frame the Rough Opening
Our house has an old plaster-and-lath ceiling, so making the opening was the messy part. Before cutting, we located the ceiling joists and marked out the required 22 1/2-inch by 54-inch opening.
To connect the layout in the room with the work above, we drilled a small pilot hole at one corner of the proposed opening. From the attic, that gave us a reference point. It happened to land right beside an existing framing member, which we used as one edge of the layout.
The joists were on 16-inch centers, so the ladder would not simply fit between them. Our installation required altering the framing and adding support around the opening.
This is the part that needs a house-specific plan. Do not copy a framing arrangement just because an opening looks similar. Before cutting a joist or other structural member, have the required support and connections determined by a qualified professional. Do not cut roof trusses without an engineered design.
We also found wiring near the opening that needed attention. Identify anything in the cutting and fastening path before starting, and have electrical work handled safely before it can interfere with the ladder.
Reduce the plaster mess before making the cut
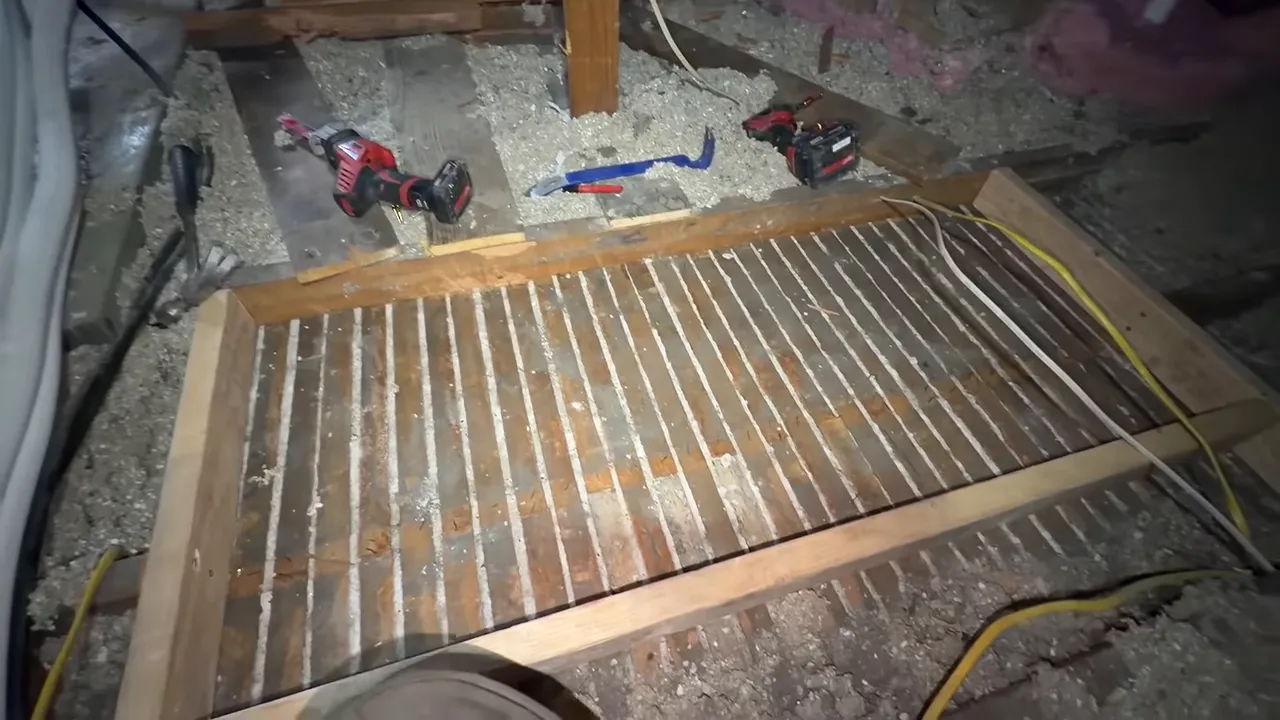
One thing that helped was cleaning the attic side of the ceiling first. Old plaster pushes through the gaps between the lath and forms raised keys on the back. When you cut through that ceiling, loose material can fall straight into the room.
Within the section we were removing, I scraped away loose protruding plaster and vacuumed the debris before cutting. We had made an absolute mess installing our ceiling cassettes, and I wanted to avoid a repeat of that.
For an older home, assess potentially hazardous materials before disturbing the ceiling or insulation. A respirator alone does not make unknown material safe to cut or vacuum.
Once the opening was framed and the work area prepared, we cut from above with a helper below managing debris with a shop vacuum. Having a second person made the cleanup much more manageable.
Install Temporary Supports and Check the Orientation
With the ceiling opening cut, we attached two temporary 2x4 supports beneath it, fastening them to solid framing. The assembly would pass up through the hole and then rest on those boards while we positioned and secured it.
For this particular ladder, the instructions specified different support offsets:
- Header end: The temporary support was positioned 3 inches from the opening.
- Footer end: The temporary support was positioned 8 inches from the opening.
Those measurements are model-specific, so follow the diagram supplied with your ladder.
Here is an easy mistake to make: check which way the ladder will open before settling it onto the supports. We initially had the assembly turned the wrong way. Thankfully, my helper caught it before we fastened anything.
The header is the hinged end. On our installation, that end belonged at the support with the 3-inch offset, with the footer at the 8-inch offset.
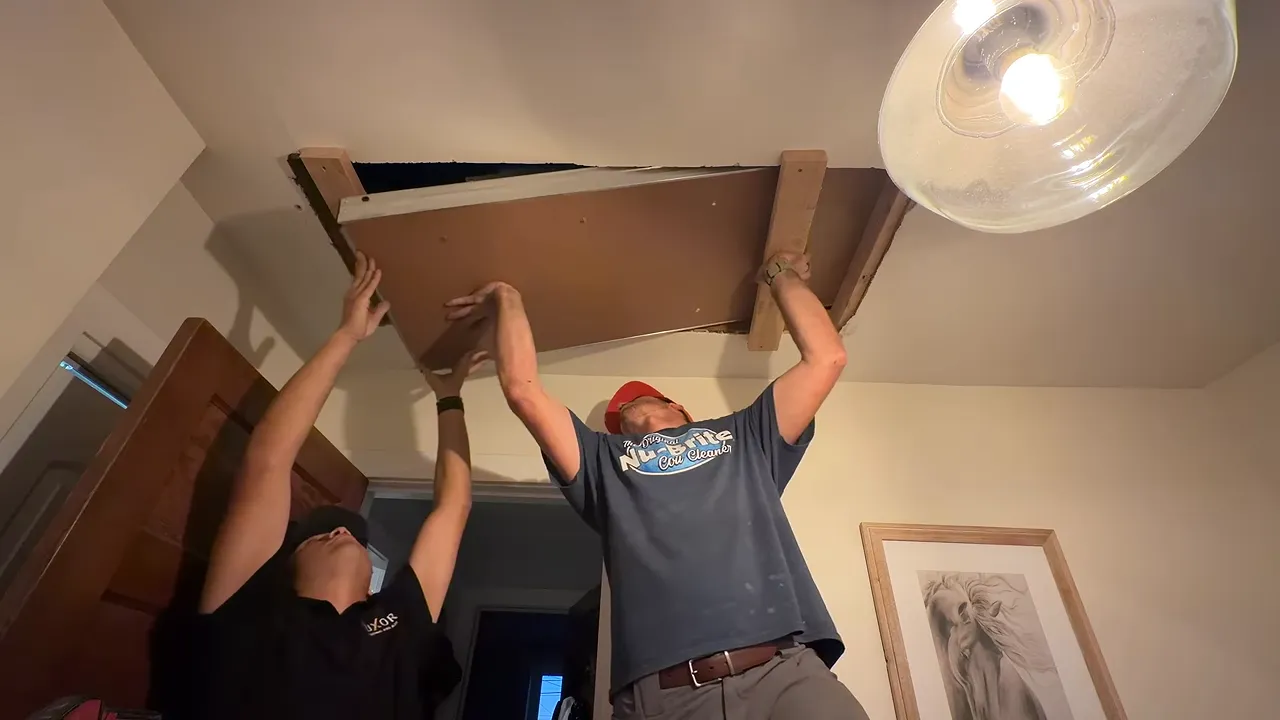
We lifted the folded assembly into the attic, turned it into position, and lowered it onto the supports. A helper is useful here for both handling the unit and catching orientation problems before they become extra work.
Shim, Align, and Secure the Frame
The rough opening leaves some adjustment room around the ladder frame. That is where the shims come in.
We used shims to make the assembly snug and align it with the room. I measured from the ladder frame to the nearby wall at both ends, then adjusted the shims until those distances matched. That kept the opening parallel to the wall rather than noticeably crooked.
Just as important, the hinged header end of the ladder frame needed to sit tight against the rough-opening header. On this installation, the remaining end clearance was at the footer. We did not split that gap equally between the two ends.
Follow the fastening sequence
With the temporary boards still supporting the unit, we drilled 5/32-inch pilot holes at the first two side mounting locations and installed the lag screws. Those were the initial side fasteners near the header.
Next, we adjusted and secured the temporary straps so they supported the opposite end without slack. At that point, the initial fasteners and straps provided the support required for the next stage.
The sequence for our unit was:
- Install the first two side lag screws while the temporary support boards remain in place.
- Secure the installation straps according to the guide.
- Attach the pull cord and remove the temporary support boards when instructed.
- Lower the door to expose the remaining mounting locations.
- Install the three header lag screws and the final two side lag screws.
Use your ladder's specified hardware, pilot-hole size, shim locations, and fastening sequence. The 5/32-inch bit and fastener arrangement above describe our unit, not every attic ladder.
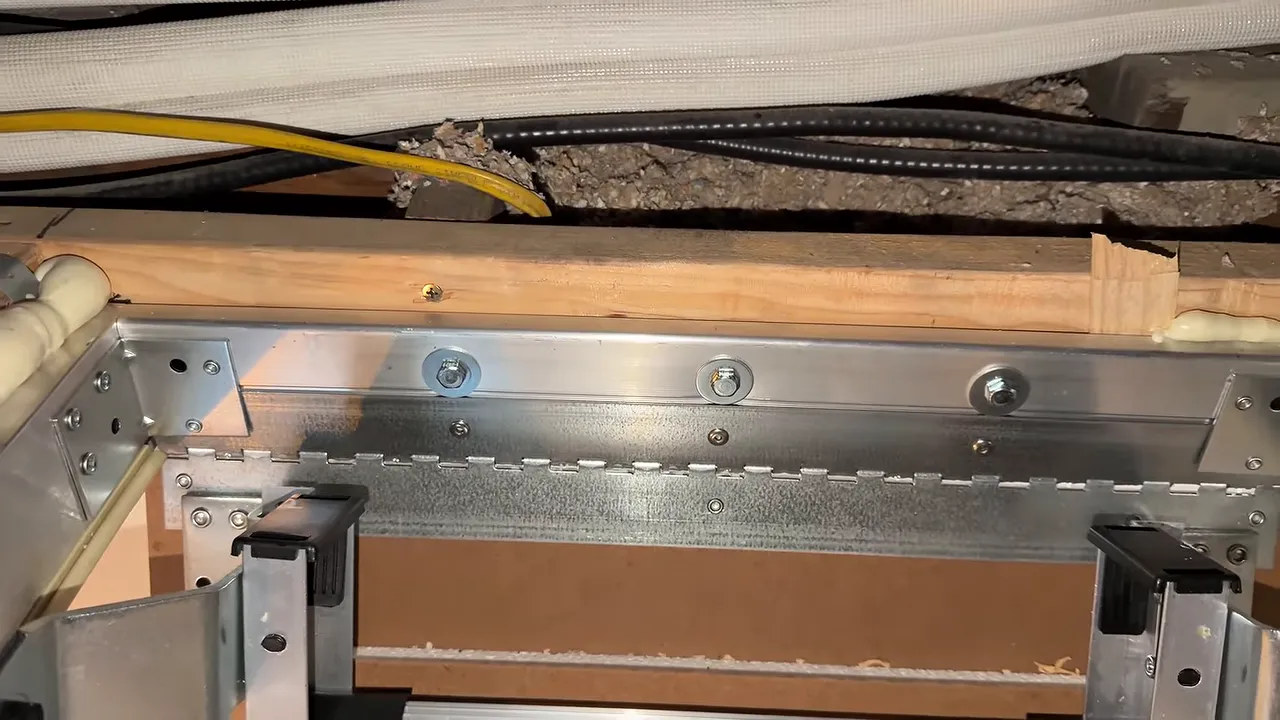
Do not climb the ladder while it is only temporarily supported. Complete the permanent fastening and leg adjustment required by the manufacturer first.
Seal the Gap Around the Attic Ladder Frame
Once the frame was permanently secured, we sealed the perimeter gap with expanding foam. The idea was to stop air from passing between the rough framing and the ladder assembly.
The insulated door was one of the features I liked about this ladder, but the perimeter still needs attention. An insulated panel does not seal an open gap around its frame.
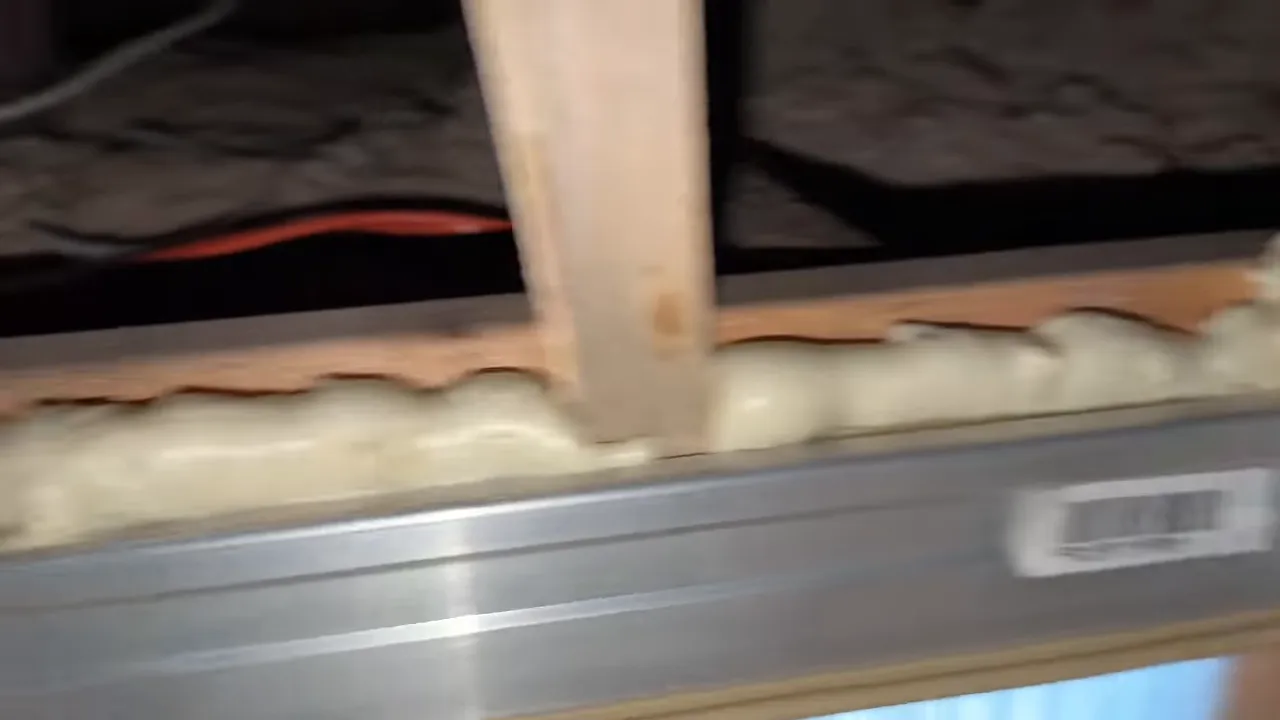
Use a sealant compatible with the assembly and follow the ladder manufacturer's guidance so the frame is not distorted and the moving parts stay clear. The Department of Energy's air-sealing guidance provides additional context on reducing unwanted air leakage.
It was cold in the attic when I checked the finished installation. The exposed aluminum rails felt cold, but the room below felt just as it had before. That was encouraging, although it was an observation, not a measured insulation test.
Trim and Adjust the Legs for Full Floor Contact
The ladder was designed to work with ceilings much taller than ours, so we had excess length to remove. I did not document every cut, but the finished fit is the important part.
The ladder needs to unfold into its intended position with both feet sitting flat on the floor. Legs that are too short leave the bottom unsupported. Legs that are too long prevent the ladder from settling into the proper alignment.
We trimmed the excess according to the installation guide, attached the lower extensions through the existing adjustment holes, and tightened the bolts with the locking nuts on the back.
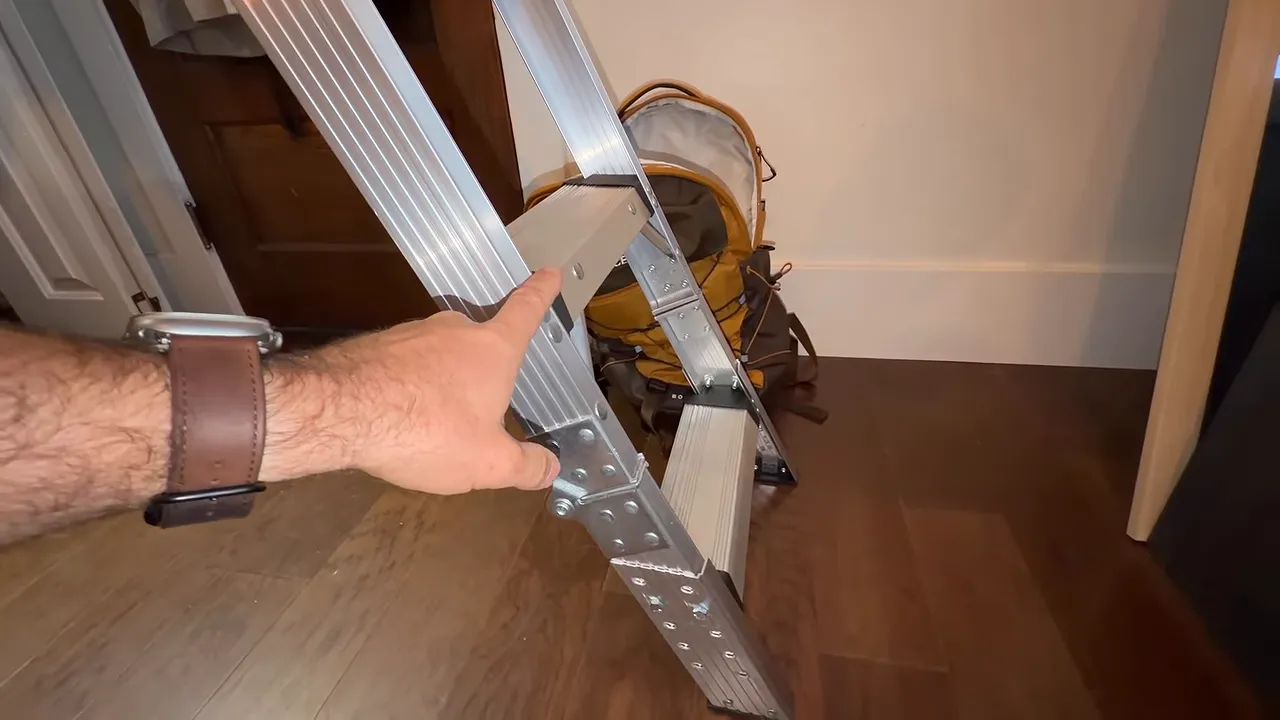
Before putting the ladder into service, check that:
- Both feet make full, flat contact with the floor.
- The folding sections are fully opened and properly aligned.
- The extension bolts and locking nuts are tight.
- The frame and permanent fasteners are secure.
- The opening and closing path is clear.
Finish the Trim and Close the Door Under Control
After the mechanical work was done, we installed the trim and painted everything to match the ceiling. Before paint, the panel stood out quite a bit. Once it was all white, it blended in really nicely, especially with the ceiling cassette nearby.
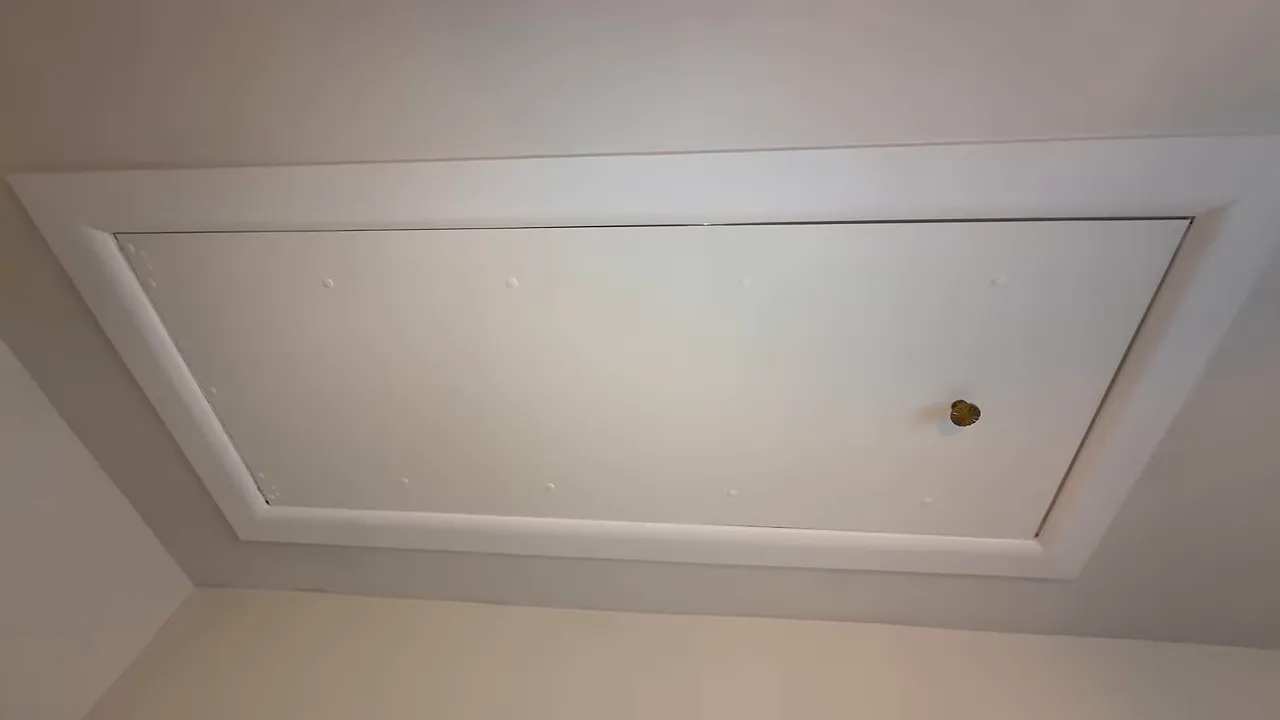
There is one operating detail worth pointing out. This ladder has a hold-open feature that resists an accidental closing movement. To close it, you move it past that point and let the struts assist the door upward.
Keep control of the knob or pull cord until the door is fully closed. Do not just let go and allow it to slam shut. That can jar the assembly or damage something, especially when you are controlling it from a taller ceiling.
A Small Upgrade That Makes the Attic Much More Useful
I absolutely love having indoor attic access now. Getting upstairs to work around the ceiling cassette mini splits is easier, and we can reach storage without going outside.
My next project is a platform around the opening to make the storage area easier to use. Access and storage capacity are separate issues, though. Before adding a platform or loading the attic with boxes, confirm what the framing can safely support. The ladder's 375-pound rating is not a rating for the attic floor.
For our home, this was a huge success. The details that mattered most were checking the exact opening dimensions, preparing for the plaster mess, getting the header orientation right, following the fastening sequence, and making sure the feet landed flat.
If you are considering the same upgrade, you can check out the attic ladder I used below. Verify the current product specifications against your ceiling height and installation space before ordering.


