When your air conditioner quits on a hot day, it is easy to assume you are looking at a major repair. But plenty of service calls come down to a few familiar problems: a dirty filter or outdoor coil, a backed-up condensate drain, or a failed capacitor.
Those are three of the most common issues I run into. Knowing what to look for can help you handle basic maintenance, understand why your system stopped, and avoid replacing parts that are not actually bad.
There is an important difference between cleaning a filter and working inside an electrical compartment. Start with the simple checks. AC equipment contains potentially lethal voltage, and capacitors can retain a charge after power is disconnected. If you cannot safely isolate power, verify it is off, and handle stored electrical energy, leave electrical testing and replacement to an HVAC professional.
Table of Contents
- Key Takeaways
- 1. Check the Air Filter and Outdoor Condenser Coil
- 2. Check the Condensate Drain or Condensate Pump
- 3. A Failed Capacitor Can Stop the Outdoor Unit
- Start With Maintenance, Then Diagnose
Key Takeaways
- Dirty filters restrict indoor airflow, while dirty condenser coils interfere with outdoor heat release.
- A backed-up condensate drain or pump can activate a safety switch and stop cooling.
- Capacitor symptoms overlap with other failures, so proper testing matters before replacement.
- Capacitor service involves dangerous voltage and stored energy, even after power is disconnected.
1. Check the Air Filter and Outdoor Condenser Coil
I group these together because both involve moving air through the system. Your indoor equipment needs airflow across the evaporator coil, while the outdoor condenser needs airflow to release heat outside.
They cause different problems when they get dirty, but both are worth checking before assuming an expensive component has failed.
A dirty air filter can restrict indoor airflow
First, make sure you know where your HVAC air filter is located. If you do not know where it is, finding it should be your first maintenance project.
A clogged filter restricts the air moving through the indoor equipment. Too little airflow across the evaporator coil can allow that coil to freeze, leaving you with poor cooling even though parts of the system are still running.
Inspect the filter and replace it if it is dirty, using the size and type specified for your equipment. This is one of the simplest things a homeowner can do, yet it is easy to overlook.
If the system has already iced up, a new filter will not instantly remove the ice. Stop cooling operation and let the system thaw before trying it again. If icing returns, have the underlying problem diagnosed rather than continuing to run it.
A dirty condenser coil makes it harder to release heat
Outside, look at the coil around the condensing unit. Air is drawn through that coil and discharged by the fan. Dirt and debris caught in the fins interfere with that airflow and make it harder for the system to get rid of heat.
The coil does not have to look terrible to need attention. On my own unit, the surface looked fairly clean, but rinsing it still washed out a surprising amount of dirt.
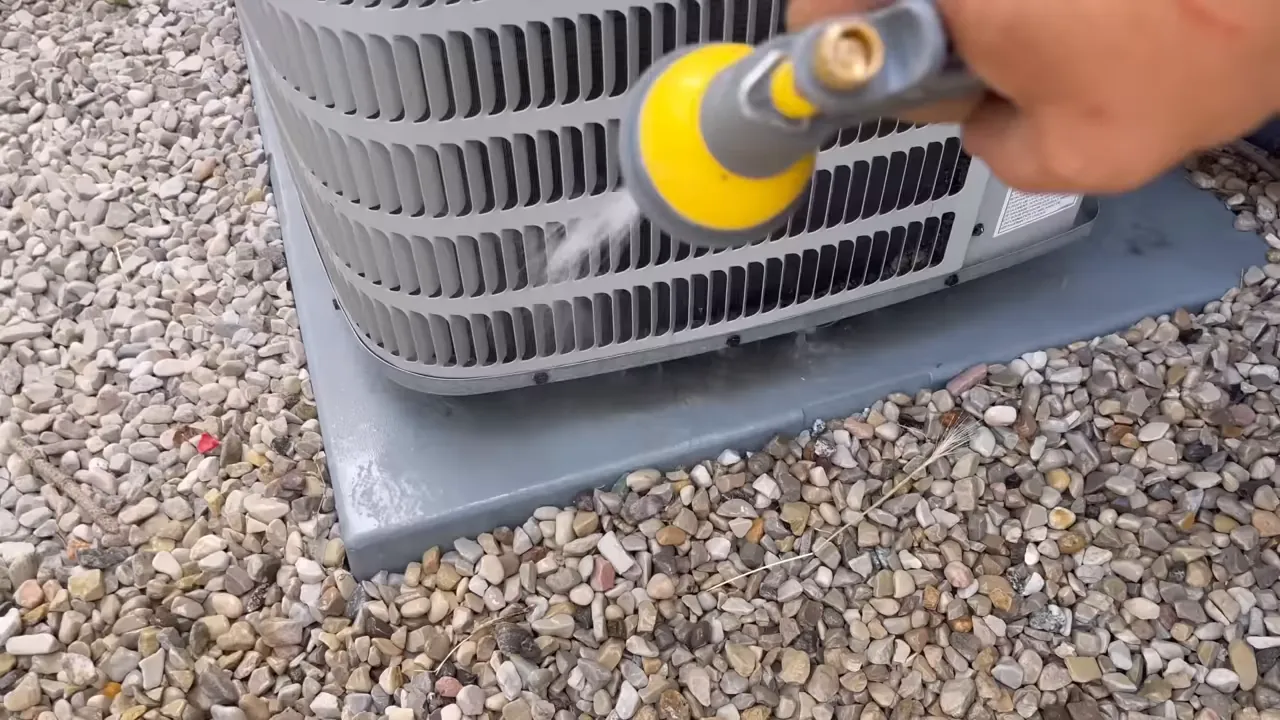
For a routine rinse, a regular garden hose is often enough. Follow the equipment manufacturer's cleaning instructions, shut off power before cleaning, and keep water away from electrical components.
- Remove loose debris from around the unit.
- Use a gentle stream of water rather than a concentrated, high-pressure jet.
- Work from the top down, rinsing the accessible coil surfaces on all sides.
- Avoid bending the delicate fins or forcing debris farther into the coil.
Do not use a pressure washer. Those thin fins bend easily, and flattening them creates another airflow restriction. Even with a garden hose, there is no reason to blast the coil at close range.
You do not necessarily need detergent for ordinary loose dirt. More stubborn buildup may require a manufacturer-approved cleaning method or professional cleaning. The Department of Energy's air conditioner maintenance guidance also explains why keeping filters and coils clean matters.
2. Check the Condensate Drain or Condensate Pump
Your air conditioner removes moisture from indoor air as it cools. That water has to drain somewhere. If its exit path gets blocked, the result can be a water backup and, on systems equipped with an overflow safety switch, an AC that shuts itself off.
That shutdown can look like a major equipment failure when the actual problem is drainage.
Find out where your system sends the water
Many systems use a gravity drain, often a PVC pipe leading away from the indoor coil. Depending on the installation, it may terminate outdoors. Its location varies, so do not assume every pipe near the condenser is the condensate drain.
Other systems use a condensate pump. That is what I have in my basement: the drain comes down from the indoor coil into a small pump reservoir, and the pump sends the water onward.
Before troubleshooting, identify which arrangement you have:
- Gravity drain: Water flows away through a sloped drain line.
- Condensate pump: Water collects in a reservoir and is pumped through a discharge line.
Look for a backup and an activated safety switch
A blocked drain can leave water standing in a drain pan or backed up in the line. If a float or overflow switch is installed and wired to interrupt operation, the rising water can stop the system to help prevent a leak.
Once the obstruction is properly cleared and the water level drops, that switch may allow the system to operate again. Exactly what shuts off depends on how the safety circuit is wired.
Do not bypass the safety switch to force the AC to run. It may be doing exactly what it is supposed to do: protecting your home from water damage.
Be ready for backed-up water to discharge when a blockage clears. A full pan or backed-up line can release much more water than the normal steady drip.
For clearing the line, follow the equipment's recommended procedure or have a technician service it. Avoid putting your mouth on a condensate pipe, and do not blast an unknown drain system with compressed air. Contaminated water, damaged connections, and displaced debris can turn a simple blockage into a bigger problem.
If you have a condensate pump, check the reservoir
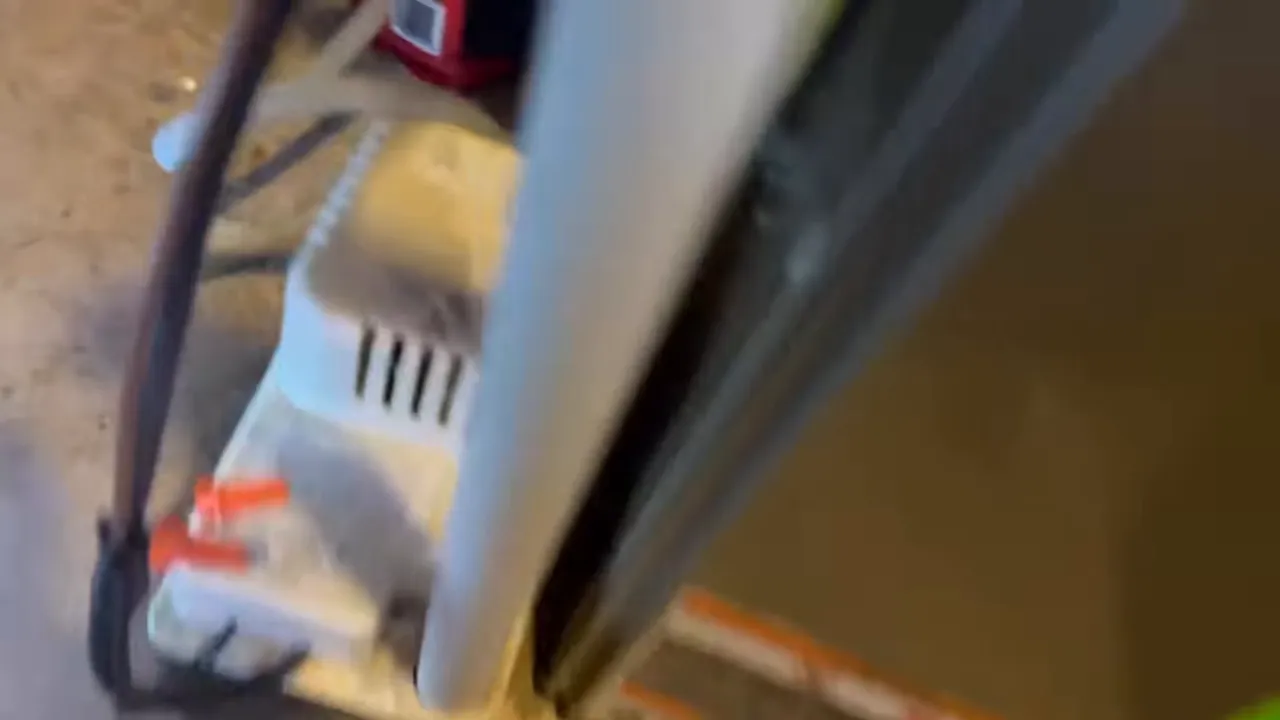
A reservoir that stays full is a clue that the water is not being removed. The pump could have a problem, or there could be an issue with its power supply, float mechanism, or discharge path. A full reservoir alone does not prove the motor has failed.
Some pumps have a safety switch connected to the HVAC controls. If the pump cannot remove the water, that switch can shut the equipment down.
An intermittent pump may start after its housing is moved, but that is not a repair. If the pump only works occasionally, or the reservoir repeatedly fills to the safety level, get the cause corrected.
The main point is simple: check where the condensate is going before assuming the outdoor unit is the problem.
3. A Failed Capacitor Can Stop the Outdoor Unit
The third common issue is the capacitor. This is where a relatively inexpensive part can cause a very noticeable breakdown, especially on a hot day when you need the AC most.
The example here uses a dual-run capacitor, which serves both the compressor and the outdoor fan motor. Not every air conditioner uses this exact arrangement, so identify your equipment before making assumptions.
Symptoms that can point toward a capacitor problem
Suppose the thermostat is set to 70 degrees and the house is at 80. The system should be calling for cooling, but outside you find one of these situations:
- Neither the outdoor fan nor the compressor appears to be running.
- The outdoor fan runs, but the compressor does not.
- You hear humming or buzzing, but the outdoor fan is not turning.
A failed capacitor is one possible explanation for these symptoms, not a confirmed diagnosis. Power, controls, the contactor, and the motors themselves can produce overlapping symptoms.
If the unit is humming without starting, shut it off rather than leaving it struggling to run.
Keep electrical inspection separate from live troubleshooting
The capacitor and contactor are commonly behind a small service panel on the outdoor unit. The panel may use quarter-inch or 5/16-inch hex-head screws, depending on the manufacturer. Easy access does not make the compartment safe.
Before any electrical service, all applicable power sources must be isolated, absence of voltage must be verified with suitable equipment, and the capacitor must be safely discharged using an appropriate procedure. Simply turning the thermostat off is not enough.
Do not manually press the contactor in an energized cabinet as a homeowner diagnostic shortcut. Besides the electrical hazard, getting the unit to start that way does not conclusively establish that the capacitor is healthy.
Read the capacitor rating and inspect its condition
A swollen or domed top is a strong sign that a capacitor has failed. The terminals may appear tilted because the top has bulged outward. However, a capacitor can also fail without any obvious external damage.
The example capacitor is labeled 45 + 5 microfarads, often written as 45/5 µF. That means it contains two capacitor sections:
- 45 µF: The compressor section.
- 5 µF: The outdoor fan section.
A replacement must have the required capacitance ratings and an appropriate voltage rating. Brand alone is not the deciding factor. Match the equipment requirements rather than choosing a part because it looks similar.
Capacitance testing confirms more than appearance does
Proper testing requires a multimeter with a capacitance function. Not every meter has one, so check the meter's instructions rather than assuming a particular symbol or setting is correct.
On the dual-run capacitor shown here, the terminals are labeled:
- C or COM: Common.
- HERM: The compressor connection, short for hermetic.
- FAN: The outdoor fan connection.
With power safely isolated, stored charge addressed, and the capacitor disconnected as required for an accurate test, a qualified person measures between common and HERM for the compressor section, then between common and FAN for the fan section.
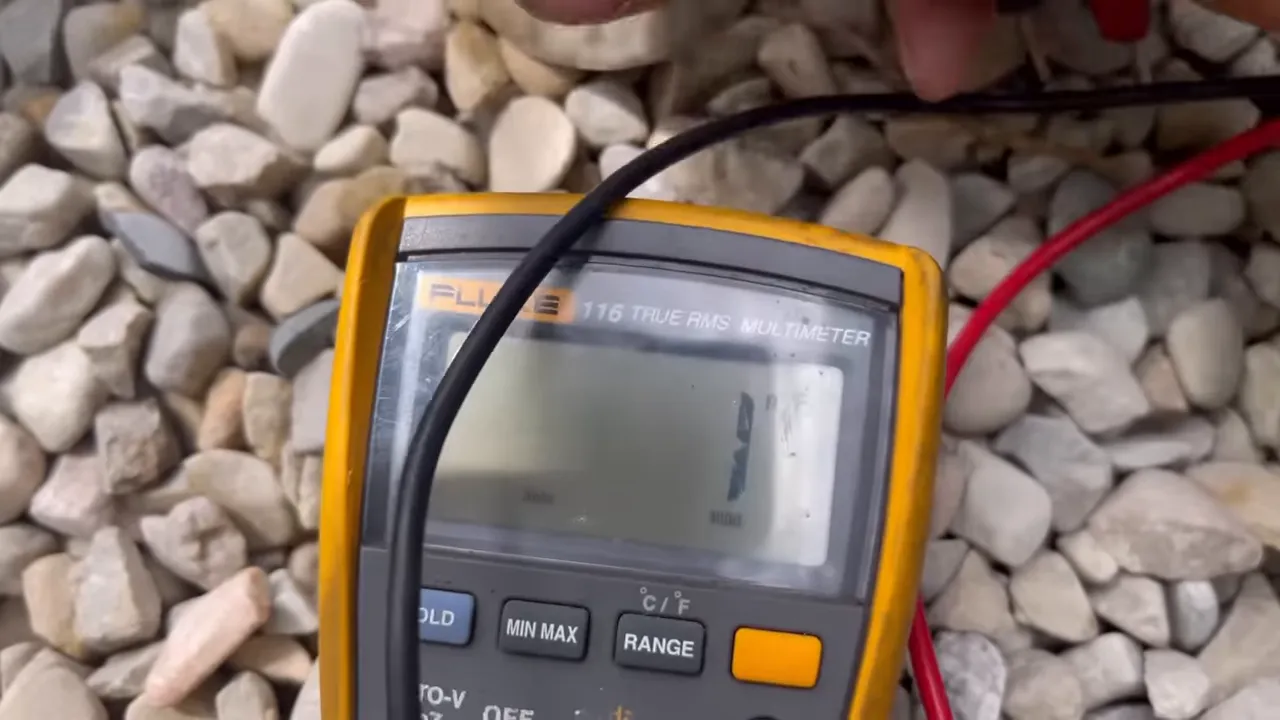
In this example, the compressor section measured about 45.2 µF and the fan section measured about 5 µF, consistent with the capacitor's 45/5 rating.
The tolerance on the label is a percentage, not a temperature measurement. If a capacitor specifies ±5%, compare the reading with that permitted range. A reading far below the rated value points toward failure, while an OL indication requires checking the meter setup and connections before drawing a conclusion.
Keeping a spare versus using a universal capacitor
One practical option is to record the correct capacitor specifications before a breakdown and keep a matching replacement on hand. That can save time when parts are hard to get during a heat wave. Having a spare does not mean you need to install it yourself.
A basic capacitor can be relatively inexpensive. The examples discussed here were around $15 to $20, but current pricing varies by rating, brand, and supplier. That is the part cost, not the cost of professional diagnosis and service.
Another option is a multi-section replacement such as the Amrad Turbo 200 universal capacitor. It provides multiple capacitor sections that can be configured for different supported ratings.
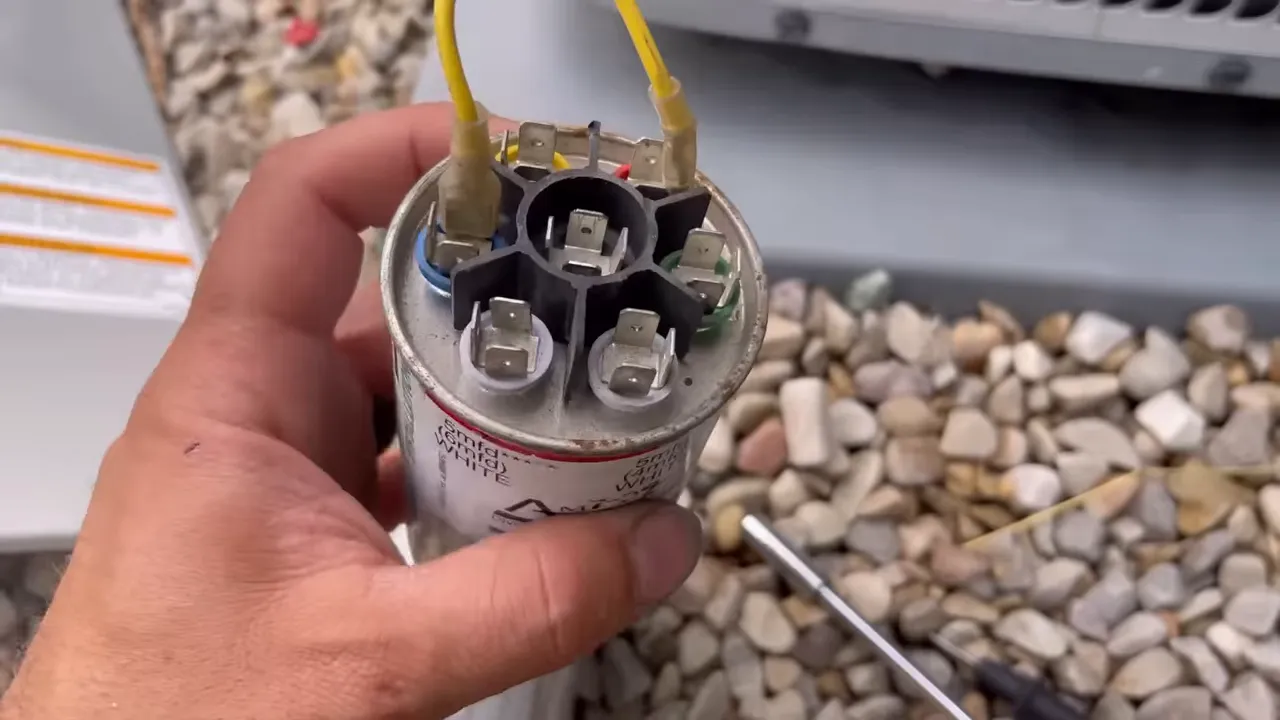
For example, supported sections can be combined to obtain a required value, such as 10 µF plus 25 µF for a 35 µF section. The exact jumper arrangement must follow that capacitor's wiring chart.
These are versatile parts, but “universal” does not mean suitable for every system or safe to wire by guesswork. For a homeowner keeping one spare for one unit, an exact-match replacement is often the simpler option.
Start With Maintenance, Then Diagnose
Before assuming your AC needs a major repair, check the basics: a clean filter, a clean outdoor coil, and a clear path for condensate to drain. Those checks address a surprising number of service calls without getting into electrical repairs.
If those items are in good shape, a capacitor may be worth testing, but symptoms alone are not enough reason to replace it. Proper diagnosis matters.
The goal is not to tackle every repair yourself. It is to understand your system well enough to handle straightforward maintenance, recognize common failures, and know when the safest money-saving move is getting the right professional involved.


